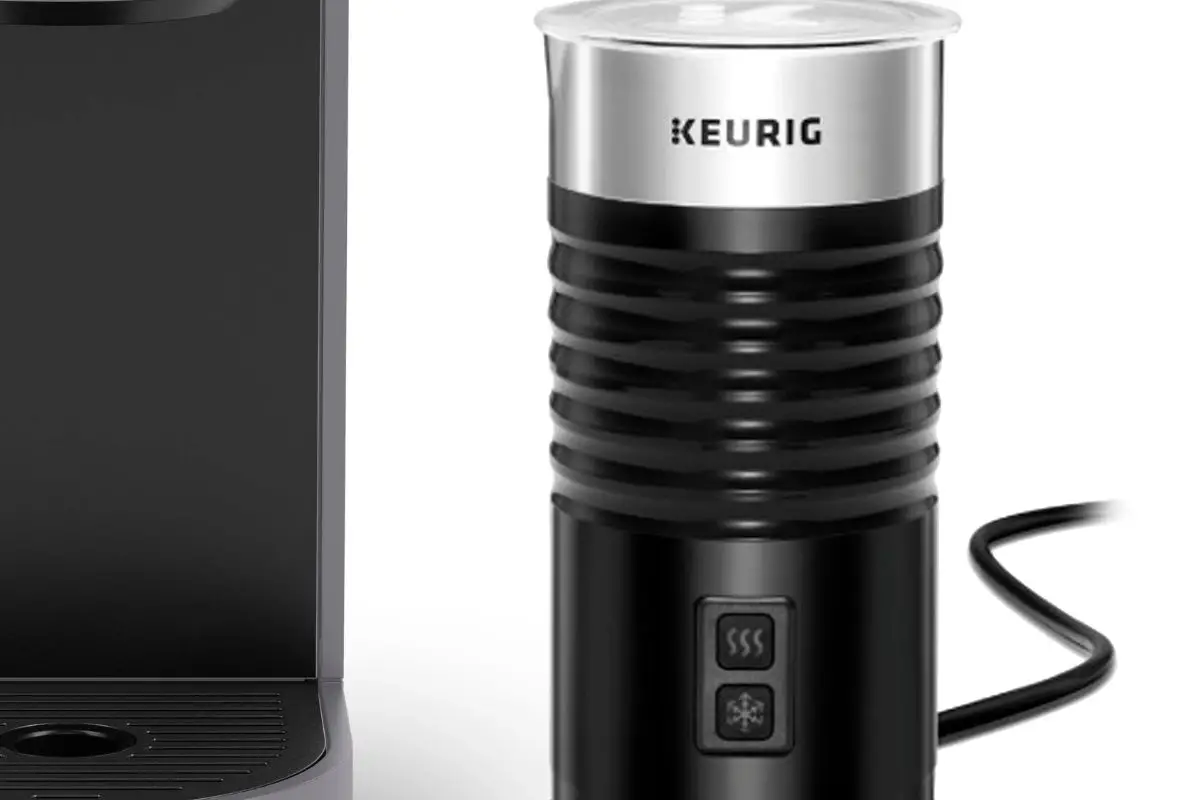
In the realm of the modern kitchen, there exists a device that holds the promise of creating creamy, velvety milk froth to enhance the enjoyment of our favorite beverages. This device, known as the Keurig milk frother, has become a staple for those who relish the indulgence of a perfectly frothed cappuccino or latte.
However, like any technological marvel, it is not immune to the occasional malfunction. When faced with the frustration of a non-working Keurig milk frother, it is crucial to approach the situation with caution and a commitment to safety. This article aims to provide an analytical and informative guide to troubleshooting the Keurig milk frother, ensuring that all potential risks are minimized.
By following the step-by-step instructions outlined in this article, users can rest assured that their Keurig milk frother will be restored to its optimal performance, guaranteeing a delightful frothing experience once again.
Key Takeaways
- Properly checking the power source and connections is crucial for ensuring the safety and functionality of the Keurig milk frother.
- Cleaning the frother regularly and following the correct steps to disassemble and clean its parts is important for optimal performance.
- Carefully inspecting the exterior casing, whisk attachment, power cord, and control buttons for any damage or malfunctioning parts is necessary when troubleshooting a non-working Keurig milk frother.
- If the frother is still not working after troubleshooting, contacting Keurig customer support and providing relevant information about the issue will help in obtaining appropriate troubleshooting steps or suggestions for repair or replacement.
Check the Power Source and Connections
The first step in troubleshooting a malfunctioning Keurig milk frother is to carefully inspect the power source and connections, ensuring that all cords are securely plugged in and there are no visible signs of damage or loose connections. This is crucial for ensuring the safety of the user and preventing any potential electrical hazards.
Start by checking if the frother is properly connected to a power outlet and that the outlet itself is functioning correctly. If the frother is connected to a surge protector or extension cord, make sure these are also securely plugged in and functioning properly.
Inspect the power cord for any visible signs of damage, such as cuts, fraying, or exposed wires. If any damage is found, the frother should not be used and the power cord should be replaced. Additionally, ensure that the frother is properly connected to the base unit and that there are no loose or damaged connectors.
Once the power source and connections have been checked and verified to be in good condition, the next step is to proceed with cleaning the frother properly.
Clean the Frother Properly
To ensure optimal performance of the device, it is imperative to clean the frother regularly and meticulously. Proper cleaning not only helps maintain the functionality of the Keurig milk frother but also ensures safety during use. Here are three essential steps to clean the frother:
- Disassemble the Frother:
- Carefully detach the lid, whisk, and base from the frother.
- Rinse the parts with warm, soapy water to remove any milk residue.
- Avoid using abrasive cleaners or scrubbing brushes as they may damage the components.
- Clean the Whisk:
- Gently clean the whisk by soaking it in warm, soapy water.
- Use a soft brush or cloth to remove any remaining milk or debris.
- Rinse thoroughly and ensure there is no residue left on the whisk.
- Wipe the Base:
- Wipe the base of the frother with a damp cloth to remove any milk splatters or spills.
- Take extra care to clean around the heating element and the connection points.
By following these cleaning steps, you can maintain the cleanliness and functionality of your Keurig milk frother. Once the frother is properly cleaned, it is important to ensure it is assembled correctly to avoid any issues during operation.
Ensure the Frother is Assembled Correctly
Proper assembly of the frother is crucial for ensuring its optimal functionality and avoiding any potential issues during operation. The Keurig milk frother comes with several components that need to be assembled correctly.
First, it is important to insert the whisk into the whisk holder firmly, making sure it is securely in place.
Then, the whisk holder needs to be attached to the lid by aligning the tabs and twisting it clockwise until it clicks into position.
The lid should be securely attached to the frother base by aligning the tabs and twisting it clockwise as well.
Incorrect assembly can result in the frother not working properly. It may not froth the milk as expected or may not turn on at all. Additionally, improper assembly can lead to leaks or other safety hazards.
Therefore, it is essential to carefully follow the assembly instructions provided by Keurig to ensure proper functionality and safe operation of the frother.
To check for any damage or malfunctioning parts, refer to the subsequent section about inspecting the frother for any issues or defects.
Check for Any Damage or Malfunctioning Parts
One important step in ensuring the optimal functionality of the frother is to carefully inspect it for any signs of damage or malfunctioning parts. This is essential for the safety of the user and to prevent further damage to the appliance. When examining the frother, consider the following:
- Look for any visible cracks or breaks in the exterior casing. Such damage may affect the frother’s ability to function properly and can potentially lead to electrical hazards.
- Inspect the whisk attachment for any bent or misshapen wires. Damaged wires can hinder the frother’s ability to froth milk effectively and may pose a safety risk.
- Check the power cord for any fraying or exposed wires. A damaged power cord can not only result in the frother not working but also create a potential electrical hazard.
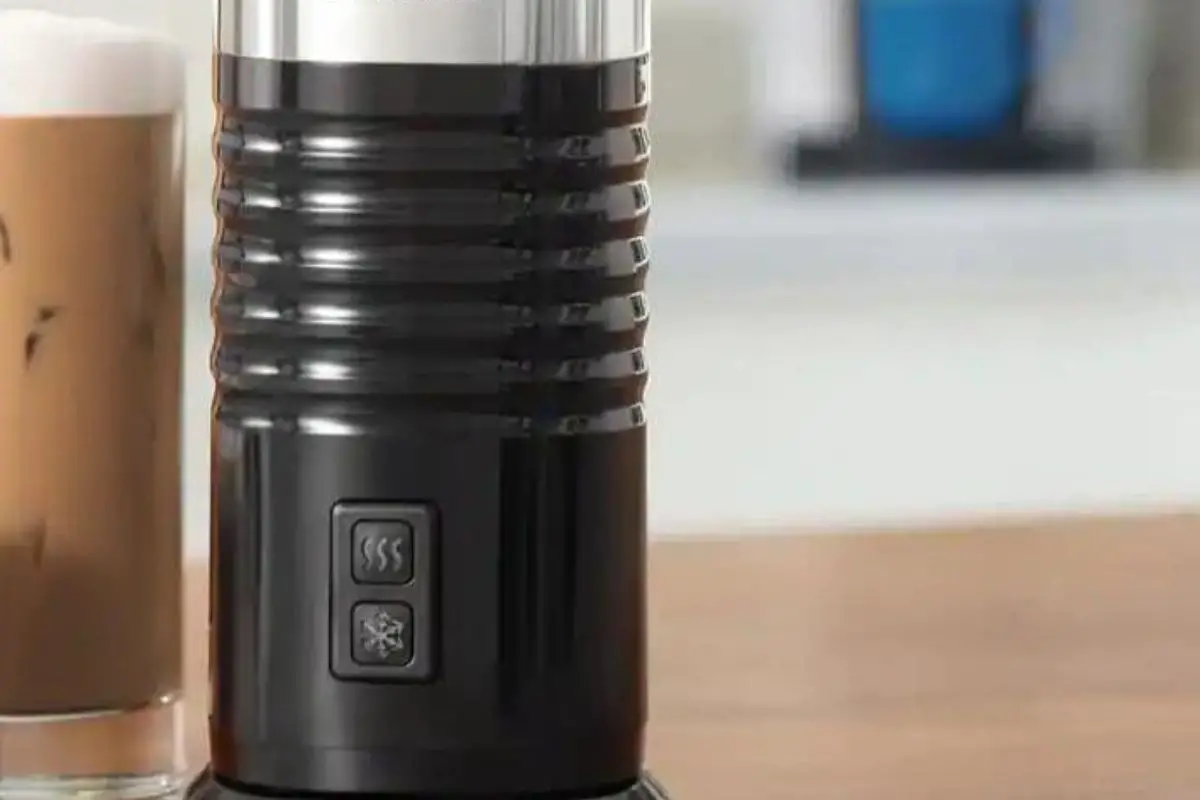
- Examine the control buttons and display screen for any signs of malfunction. Malfunctioning buttons or a faulty display can impede the frother’s operation and require repair or replacement.
By carefully inspecting the frother for damage or malfunctioning parts, users can identify any potential issues that may be causing it to not work properly.
In the next section, we will explore how to reset the frother to its factory settings.
Reset the Frother to Factory Settings
Resetting the frother to its factory settings can be a useful troubleshooting step to address any potential issues with its functionality. By resetting the frother, you are essentially restoring it to its original state, eliminating any customized settings or configurations that may be causing the malfunction.
This process can help to resolve common problems such as the frother not turning on, not frothing the milk properly, or producing excessive noise.
To reset the Keurig milk frother to factory settings, begin by unplugging the frother from the power source. Leave it unplugged for approximately one minute to ensure a complete power cycle. Afterward, plug the frother back in and make sure it is properly positioned on a stable surface. This will ensure that the frother is receiving a consistent power supply and is not affected by any external factors that may be causing the malfunction.
Once the frother is plugged back in, it should automatically reset to its factory settings. You can then test the frother to see if the issue has been resolved. If the frother is still not working properly, it may be necessary to contact Keurig customer support for further assistance.
In the next section, we will discuss how to contact Keurig customer support for assistance in troubleshooting and resolving the issue.
Contact Keurig Customer Support for Assistance
To obtain assistance in troubleshooting and resolving the issue, it is recommended to contact Keurig’s customer support for further guidance. Keurig’s customer support team consists of trained professionals who can provide valuable assistance in diagnosing and resolving issues related to the Keurig milk frother. They possess extensive knowledge about the product and are equipped with the necessary resources to address any concerns effectively.
When contacting Keurig customer support, it is advisable to provide them with relevant information about the milk frother, such as the model number, purchase date, and a detailed description of the issue encountered. This will enable the support team to better understand the problem and offer appropriate solutions. Additionally, it is important to adhere to any safety guidelines provided by the customer support team to ensure the well-being of the user and the proper functioning of the milk frother.
Keurig’s customer support is committed to resolving issues promptly and efficiently. They may provide troubleshooting steps over the phone or offer guidance through email correspondence. In some cases, they may recommend sending the milk frother for repair or provide suggestions for replacement if the issue cannot be resolved.
By contacting Keurig’s customer support, users can avail themselves of expert assistance and find a suitable resolution to their milk frother not working.
Frequently Asked Questions
How do I know if the power source is working properly?
To determine if a power source is functioning properly, check if it is securely connected and if there are any visible signs of damage. Use a multimeter to measure the voltage output and consult a professional if unsure.
What is the best way to clean the milk frother?
To effectively clean a milk frother, it is recommended to disassemble the frother and clean each part separately. Use warm soapy water and a soft brush to remove any residue. Rinse thoroughly and allow to air dry before reassembling.
How can I make sure that I have assembled the frother correctly?
To ensure correct assembly of the milk frother, it is crucial to carefully follow the manufacturer’s instructions. Double-check all connections and components, ensuring they fit securely and are aligned properly. This will help prevent any potential safety hazards.
How can I identify any damage or malfunctioning parts in the frother?
When identifying damage or malfunctioning parts in a frother, it is important to visually inspect for cracks, leaks, or loose connections. Additionally, test the functionality of each component to ensure proper operation and safety.
How do I reset the frother to its factory settings?
To reset the frother to its factory settings, follow the manufacturer’s instructions provided in the user manual. This will ensure that any potential issues or malfunctions are addressed and the frother is restored to its original state for safe operation.
Conclusion
The issue of a non-functioning Keurig milk frother can be resolved by following a few troubleshooting steps.
First, check the power source and connections to ensure they are secure.
Secondly, clean the frother properly, as residue or dirt may be affecting its performance.
Additionally, make sure the frother is assembled correctly, as any misalignment can hinder its functionality.
If these steps do not resolve the issue, check for any damaged or malfunctioning parts and consider resetting the frother to factory settings.
If all else fails, contacting Keurig customer support for further assistance is recommended.
Also read: