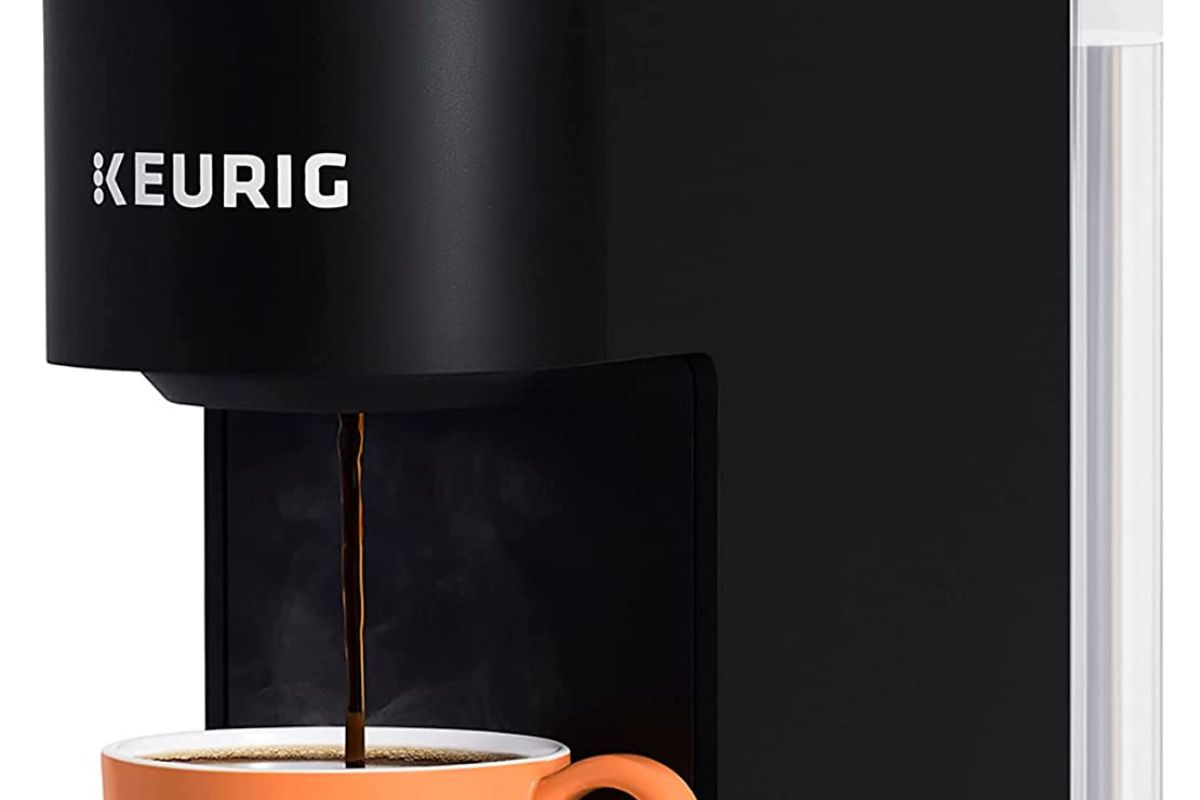
In the realm of home appliances, it is often said that maintenance is the key to longevity. This adage holds true for the popular Keurig coffee maker, which requires occasional resetting to ensure optimal performance. Resetting a Keurig not only restores its functionality but also ensures a safe and hygienic brewing experience.

In this article, we will guide you through the process of resetting your Keurig in a safe and efficient manner.
To begin, power off the machine and disconnect it from the electrical outlet.
Next, remove and clean the water reservoir, ensuring that it is free from any debris or mineral buildup.
Descaling the Keurig is the next crucial step, as it removes any accumulated deposits that may affect the taste and quality of your coffee.
Once you have completed these steps, reset the machine’s settings according to the manufacturer’s instructions.
To finalize the reset, run a cleaning brew to flush out any remaining residue.
By following these simple yet essential steps, you can enjoy a freshly reset Keurig, ready to brew your favorite cup of coffee safely and efficiently.
Key Takeaways
- Power off and unplug the Keurig before resetting.
- Clean and remove any debris from the water reservoir.
- Descaling the Keurig to remove mineral buildup.
- Reset the machine’s settings according to the manufacturer’s instructions.
Power Off and Unplug Your Keurig
To initiate the reset process for your Keurig, it is imperative to power off the machine and proceed to unplug it from the electrical outlet. This step is crucial for ensuring safety during the reset procedure. By powering off the machine, you eliminate any potential risk of electrical shock or malfunction. Unplugging the Keurig from the electrical outlet further reduces the chances of accidents occurring.
When the machine is turned off and unplugged, you can then move on to the next step of the reset process, which involves removing and cleaning the water reservoir. This is an essential step to ensure the proper functioning of your Keurig. The water reservoir can accumulate mineral deposits or other impurities over time, which can affect the quality of the brewed coffee or tea. By removing and cleaning the water reservoir, you eliminate any potential blockages or build-up that may hinder the machine’s performance.
Now, let’s move on to the next section, where we will discuss the process of removing and cleaning the water reservoir.
Remove and Clean the Water Reservoir
First, it is important to remove the water reservoir in order to clean it thoroughly and ensure optimal performance of the machine. To do this, start by powering off and unplugging your Keurig.
Locate the water reservoir, which is usually located at the back of the machine. Carefully lift the reservoir straight up and away from the Keurig. Be cautious as the reservoir may still contain hot water or coffee. Empty any remaining liquid into the sink and discard any used K-Cup pods.
Next, rinse the reservoir with warm, soapy water. Use a soft cloth or sponge to wipe away any residue or build-up. Pay special attention to the inside of the reservoir, as this is where bacteria and mineral deposits can accumulate. Rinse the reservoir thoroughly to remove any soap residue.
Once the reservoir is clean, place it back onto the Keurig and ensure it is properly aligned. This step is crucial to prevent any leaks or malfunctions.
With the water reservoir securely in place, you can move on to the next step of descaling your Keurig machine.
Descale Your Keurig
Descaling your Keurig is essential for maintaining its performance and preventing mineral deposits from negatively impacting the taste and quality of your coffee. Over time, mineral deposits can accumulate in your Keurig’s internal components, such as the heating element and water lines. This can lead to clogs, reduced water flow, and even machine malfunctions.
To descale your Keurig, you will need a descaling solution or a mixture of vinegar and water. Begin by emptying the water reservoir and removing any water filters. Then, fill the reservoir with the descaling solution or vinegar mixture and run several brew cycles without a pod. This will help remove any mineral deposits and clean the internal components of your Keurig.
After descaling, thoroughly rinse the water reservoir and run a few additional brew cycles with clean water to ensure all traces of the descaling solution are removed. Once your Keurig is descaled and cleaned, you can proceed to the next step of resetting the machine’s settings to ensure optimal performance.
Reset the Machine’s Settings
By restoring the machine’s default configurations, users can rejuvenate their Keurig’s performance and embark on a fresh brewing journey, akin to pressing the ‘restart’ button on their coffee experience.
Resetting the Keurig’s settings is a simple process that can be done in a few steps.
First, ensure that the machine is turned on and ready to brew. Locate the power button, usually located on the top or side of the machine, and press and hold it for a few seconds until the machine turns off.
Once it is turned off, unplug the Keurig from the power source. Wait for a few minutes, then plug it back in.
Finally, turn the machine back on by pressing the power button. This will reset the machine’s settings to their default configurations.
With the machine’s settings reset, users can now move on to the next step, which is running a cleaning brew to ensure the Keurig is free from any lingering debris or build-up.
Run a Cleaning Brew
To ensure optimal performance and cleanliness, it is recommended to initiate a cleaning brew process, effectively eliminating any residual contaminants or deposits within the machine. Running a cleaning brew on your Keurig is a simple and effective way to maintain the quality and longevity of your brewing system.
It helps remove any mineral build-up, coffee residue, or bacteria that may have accumulated over time.
To run a cleaning brew, start by emptying the water reservoir and removing any used K-Cups or pods from the machine. Fill the reservoir with a mixture of equal parts white vinegar and water. Place a large mug or container on the drip tray to catch the liquid. Start the brewing cycle without inserting a K-Cup, allowing the vinegar-water solution to flow through the machine. Repeat this process until the reservoir is empty.
After completing the cleaning brew, rinse the reservoir thoroughly and fill it with clean water. Run multiple brewing cycles with just water to flush out any remaining vinegar taste. Once the water runs clear, your Keurig is ready for use.
Enjoy your freshly reset Keurig, knowing that it is clean and ready to provide you with a delicious and safe cup of coffee.
Enjoy Your Freshly Reset Keurig!
After completing the cleaning brew and following the necessary rinsing steps, users can eagerly anticipate indulging in the rejuvenated experience of their Keurig, savoring each sip of the freshly brewed coffee.
To ensure a safe and enjoyable experience, it is important to follow these final steps:
- Check the water reservoir: Before brewing your first post-reset cup of coffee, make sure the water reservoir is filled with fresh, clean water. This will ensure that the coffee tastes its best and is free from any residual cleaning solution.
- Run a test brew: It is recommended to run a test brew without a K-Cup to ensure that the machine is functioning properly and that there are no leftover cleaning agents or debris. This will also help to flush out any remaining vinegar or descaling solution used during the reset process.
- Clean and maintain regularly: To keep your Keurig running smoothly and to prevent the need for frequent resets, it is important to clean and maintain it regularly. This includes descaling the machine every few months and regularly cleaning the removable parts such as the water reservoir and K-Cup holder.
By following these steps, Keurig owners can enjoy a freshly reset machine that brews delicious coffee while ensuring their safety and satisfaction.
Frequently Asked Questions
What are some common signs that indicate my Keurig needs to be reset?
Common signs that indicate a Keurig needs to be reset include the machine not turning on, not brewing coffee, or displaying error messages. Resetting the Keurig can help resolve these issues and restore proper functioning.
Can I use any type of descaling solution to descale my Keurig?
Using any type of descaling solution to descale your Keurig is not recommended. It is important to follow the manufacturer’s instructions and use the specific descaling solution recommended for your Keurig model to ensure proper cleaning and avoid potential damage.
How often should I clean the water reservoir of my Keurig?
The water reservoir of a Keurig should be cleaned every few months to prevent buildup of bacteria and mold. This is important for maintaining the safety and quality of the brewed beverages.
Will resetting my Keurig erase any personalized settings or preferences?
Resetting a Keurig will not erase personalized settings or preferences. It simply restores the machine to its default settings. Therefore, users can safely reset their Keurig without worrying about losing their customized settings and preferences.
Is it necessary to run a cleaning brew after resetting my Keurig?
Running a cleaning brew after resetting your Keurig is not necessary, but it is recommended to ensure optimal performance and to remove any residual build-up. This will help maintain the longevity of the machine and ensure the safety of its users.
Conclusion
To reset a Keurig, begin by powering off and unplugging the machine.
Next, remove and clean the water reservoir, followed by descaling the Keurig.
Reset the machine’s settings and run a cleaning brew to ensure a fresh start.
Finally, enjoy your freshly reset Keurig!
It is indeed a pleasure to witness the restoration of this coffee-making marvel.
The process, though straightforward, grants us a renewed appreciation for the simple pleasures in life.
May your future brewing endeavors be filled with endless joy, as you savor each cup with a newfound sense of gratitude.
Also read: