In the world of coffee enthusiasts, the quest for the perfect cup of frothy milk can be an endless pursuit. For those seeking a convenient and efficient solution, the Nespresso Frother offers a reliable and user-friendly option.
Imagine this scenario: it’s early morning, and you’re craving a creamy cappuccino to kickstart your day. With the Nespresso Frother, you can effortlessly transform cold milk into velvety froth in a matter of minutes.
In this article, we will guide you through the process of using the Nespresso Frother, ensuring you achieve the desired froth level and indulge in a safe and enjoyable coffee experience. From unboxing and familiarizing yourself with the frother to cleaning and maintenance, each step will be outlined in a knowledgeable and detailed manner.
By following our informative instructions, you can confidently navigate the world of milk frothing with ease and precision. So, let’s dive in and uncover the secrets to mastering the art of frothy milk with the Nespresso Frother.
Key Takeaways
- Read the instruction manual before using the Nespresso frother.
- Use whole or 2% milk for the best frothing results.
- Adjust the froth level by turning the froth control knob.
- Clean and maintain the frother regularly to ensure optimal performance and longevity.
Unbox and Familiarize Yourself with the Nespresso Frother
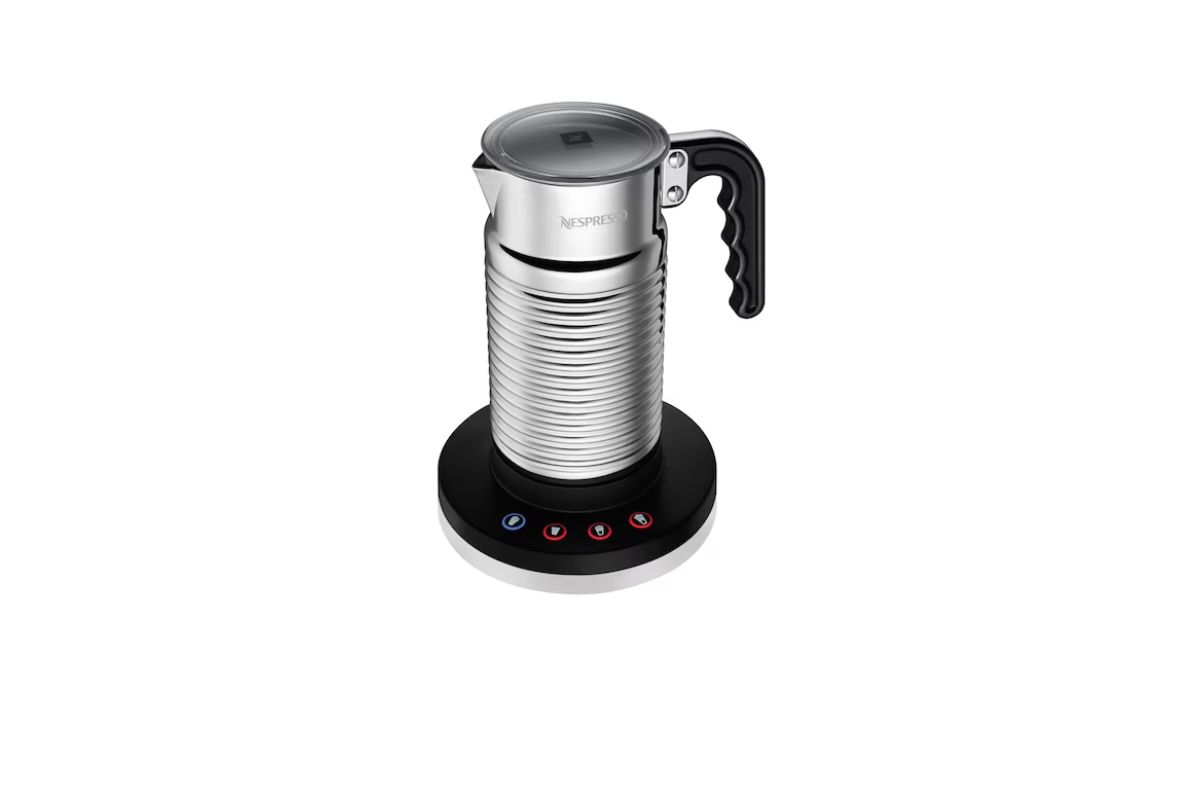
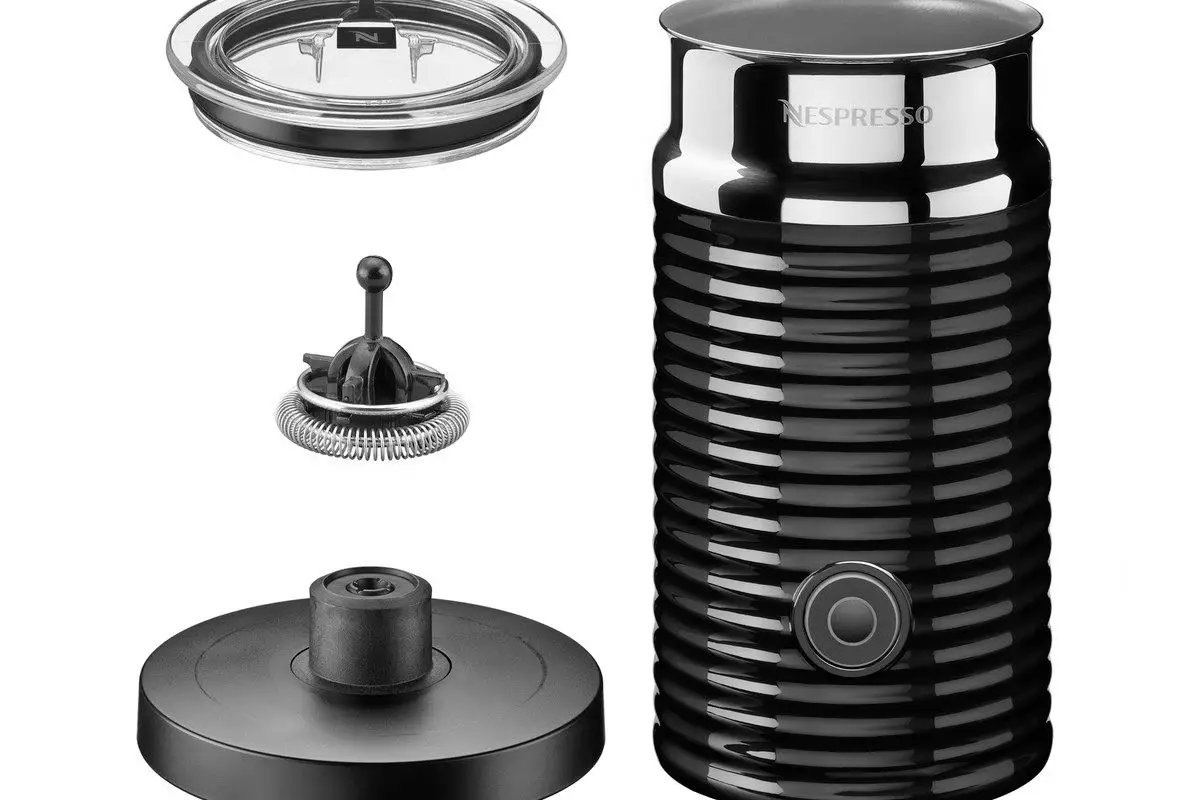
To begin using the Nespresso frother, it is important to unbox the device and take the time to familiarize yourself with its features and components. The Nespresso frother comes with a base unit, a lid, a whisk, and a power cable. It is essential to carefully unpack all these components and ensure that they are in good condition before proceeding.
Once unboxed, the next step is to familiarize yourself with the different parts of the frother. The base unit houses the heating element and controls, while the lid is used to cover the frother during operation. The whisk is the component responsible for frothing the milk, and it can be easily attached and detached from the base unit.
It is crucial to read the instruction manual thoroughly before using the frother to ensure safe operation. The manual provides important information on how to clean the frother, which types of milk can be frothed, and how to achieve different levels of frothiness.
Now that you are familiar with the Nespresso frother and its components, the next section will guide you through the process of preparing your milk.
Prepare Your Milk
Inception of the milk preparation process involves selecting the suitable type of milk for optimum frothiness. To ensure a successful frothing experience with your Nespresso Frother, consider the following steps:
- Choose the right milk: Opt for whole or 2% milk for the best frothing results. These types of milk contain a higher amount of fat, which contributes to a creamier and thicker froth.
- Pour the milk into the frother: Fill the frother with the desired amount of milk, ensuring not to exceed the maximum capacity indicated on the frother. It is important to leave enough space for the milk to expand during the frothing process.
- Attach the frother lid: Securely place the frother lid onto the frother to prevent any spills or accidents during frothing. Make sure it is properly aligned and tightly sealed.
- Select the appropriate temperature: Depending on your preference, choose the desired temperature setting on the frother. It is recommended to start with the lower temperature setting and gradually increase if needed.
By following these steps, you can prepare your milk effectively for frothing with the Nespresso Frother. Once you have completed this process, you can proceed to the next section, which will guide you on how to select your desired froth level.
Select Your Froth Level
Understanding the Froth Settings is an essential step in using the Nespresso frother effectively. This feature allows users to adjust the froth level according to their preference. By selecting the desired froth level, users can achieve different textures and consistencies in their milk froth, ranging from a light and airy foam to a thick and creamy froth.
Adjusting the Froth Level provides users with the flexibility to customize their coffee drinks to their liking, enhancing their overall coffee experience.
Understanding the Froth Settings
The different froth settings on the Nespresso frother offer users the opportunity to achieve their desired level of frothiness in their milk-based beverages. The frother has three settings: Cold, Warm, and Hot. Each setting produces a different level of frothiness, allowing users to customize their drinks according to their preferences.
To understand the froth settings better, refer to the table below:
| Froth Setting | Description | Uses |
|---|---|---|
| Cold | Creates a light froth with a cool temperature. | Ideal for iced drinks or beverages that require minimal frothiness. |
| Warm | Produces a medium froth with a slightly warm temperature. | Suitable for lattes, cappuccinos, and other milk-based hot beverages. |
| Hot | Generates a dense and creamy froth with a hot temperature. | Perfect for creating luxurious and indulgent hot drinks like hot chocolate or macchiatos. |
By understanding the different froth settings, users can select the appropriate level of frothiness for their desired beverages. Adjusting the froth level is the next step in achieving the perfect frothiness for your drink.
Adjusting the Froth Level
Adjusting the froth level allows users to fine-tune the texture of their milk-based beverages, resulting in a more enjoyable drinking experience. Interestingly, research has shown that individuals who prefer a thicker froth tend to perceive their drinks as more indulgent and satisfying.
To adjust the froth level on a Nespresso frother, follow these steps:
- Select the desired froth level by turning the froth control knob. This will determine the amount of air incorporated into the milk, affecting the froth’s thickness and creaminess.
- Lower froth levels are ideal for lattes and cappuccinos, as they produce a creamier and velvety texture.
- Higher froth levels are suitable for macchiatos and hot chocolates, resulting in a thicker and frothier consistency.
By adjusting the froth level according to personal preference, users can customize their milk-based beverages to suit their taste. This feature provides a sense of control and allows for a more personalized experience.
Moving on to the next section, let’s explore how to start frothing.
Start Frothing
To initiate the frothing process with the Nespresso frother, the user must first press the power button located on the device. Once the power button is pressed, the frother will begin to heat up and prepare for frothing.
It is important to note that the frother should only be used with the appropriate amount of milk, as indicated by the maximum and minimum fill lines on the inside of the frother. Overfilling the frother can result in spillage and potential burns.
Once the desired amount of milk is added, the user should carefully place the lid onto the frother to ensure a tight seal. This will prevent any accidental spills or splatters during the frothing process.
After securing the lid, the user can select the desired froth level by pressing the corresponding button on the frother. The frother offers different froth levels, allowing the user to customize their frothiness preference.
After selecting the froth level, the user should wait for the frother to complete the frothing process. This typically takes a few minutes, and the frother will automatically shut off once the frothing is complete. It is important to wait for the frother to cool down before attempting to open the lid or pour the frothed milk.
With the frothing process complete, the user can now proceed to pour the frothed milk into their desired beverage and enjoy.
Pour and Enjoy
To complete the process of frothing milk using a Nespresso frother, the next step is to pour the frothed milk into your coffee.
Carefully pour the milk from the frother into your cup, using a spoon to hold back the foam if desired.
Once the frothed milk is in your cup, you can add any additional ingredients such as sugar or flavored syrups to enhance the taste of your coffee.
Pour the Frothed Milk into Your Coffee
Pour the frothed milk into your coffee with precision and panache, perfectly blending the creamy concoction with your caffeinated elixir. To ensure a safe and enjoyable experience, follow the guidelines below:
| Step | Instructions |
|---|---|
| 1 | Hold the Nespresso frother over your cup of coffee, ensuring that the spout is directly above the center of the cup. |
| 2 | Slowly pour the frothed milk into the coffee, allowing it to mix smoothly. |
| 3 | Maintain a steady hand and pour in a circular motion to evenly distribute the frothed milk. |
| 4 | Stop pouring once you have achieved your desired level of creaminess. |
By following these steps, you can create a perfectly frothed milk coffee that is both delicious and safe. Now, let’s move on to the next section and discuss the option of adding any additional ingredients to enhance your coffee experience.
Add Any Additional Ingredients
After pouring the frothed milk into your coffee, you can further enhance the flavor and experience by adding any additional ingredients. This step allows you to personalize your coffee and create a unique taste profile.
Whether you prefer a dash of cinnamon, a sprinkle of cocoa powder, or a drizzle of caramel syrup, the options are endless. Adding these extras can elevate the overall taste and add a touch of sophistication to your beverage. To ensure a safe and enjoyable experience, it is important to follow proper food safety guidelines when selecting and handling additional ingredients. Always check for any allergies or dietary restrictions before incorporating them into your coffee.
Now that you have perfected your coffee creation, let’s move on to the next section about cleaning and maintenance.
Cleaning and Maintenance
Regular cleaning and maintenance of the Nespresso frother ensures its optimal performance and longevity.
To maintain a safe and effective operation, it is important to follow the recommended cleaning procedures.
After each use, it is advised to rinse the frother under warm water to remove any milk residue.
Additionally, it is essential to regularly disassemble the frother and clean the various components thoroughly. The frother’s lid, whisk, and container can be washed with mild soap and water, ensuring that all milk residue is removed.
To prevent any buildup or clogging, it is important to pay special attention to the whisk, as it is the main component responsible for frothing the milk. A small brush or toothbrush can be used to clean in between the whisk’s wires.
Moreover, it is crucial to descale the frother on a regular basis to remove any mineral deposits that may accumulate over time. Descaling can be done by mixing equal parts of water and white vinegar and running the mixture through the frother’s system. This process should be followed by rinsing the frother with clean water to remove any vinegar residue.
It is important to note that the specific cleaning and descaling instructions may vary depending on the model of the Nespresso frother, so it is advisable to consult the user manual for detailed guidance.
By adhering to proper cleaning and maintenance practices, users can ensure the safety and longevity of their Nespresso frother.
Regular cleaning not only guarantees optimal performance but also helps to prevent the growth of bacteria and other harmful microorganisms.
Additionally, maintaining a clean frother will ensure that there is no cross-contamination of flavors between different drinks, providing a consistently high-quality frothing experience.
Frequently Asked Questions
Can I use any type of milk with the Nespresso frother?
Yes, any type of milk can be used with the Nespresso frother. It is designed to froth all types of milk, including dairy milk, plant-based milk alternatives, and even lactose-free milk.
How long does it take to froth milk with the Nespresso frother?
The frothing process with the Nespresso frother typically takes about 60 to 90 seconds. It is important to follow the manufacturer’s instructions and use caution when handling hot milk to ensure safety during the frothing process.
Can I froth milk without using the frother’s heating function?
Yes, it is possible to froth milk without using the frother’s heating function. However, it is important to note that the frother’s heating function ensures proper temperature for safe consumption.
Is it possible to adjust the temperature of the frothed milk?
Yes, it is possible to adjust the temperature of frothed milk using a Nespresso frother. The frother has different temperature settings that allow you to control the level of heat applied during the frothing process.
Can I froth milk for multiple cups at once using the Nespresso frother?
The Nespresso frother can froth milk for multiple cups at once. It has a capacity of up to 500ml, allowing for efficient frothing. However, it is important to follow the manufacturer’s instructions to ensure safety and avoid overfilling.
Conclusion
In conclusion, the Nespresso Frother is a convenient and efficient tool for creating creamy and frothy milk for your beverages. Its sleek design and intuitive controls make it easy to use, while its adjustable froth settings allow you to customize your drink to your preferred consistency.
With just a few simple steps, you can transform your milk into a velvety foam that will elevate your coffee experience. Remember to clean and maintain your frother regularly for optimal performance.
Indulge in the delightful experience of a perfectly frothed beverage with the Nespresso Frother.
Related articles:
Keurig Milk Frother Not Working