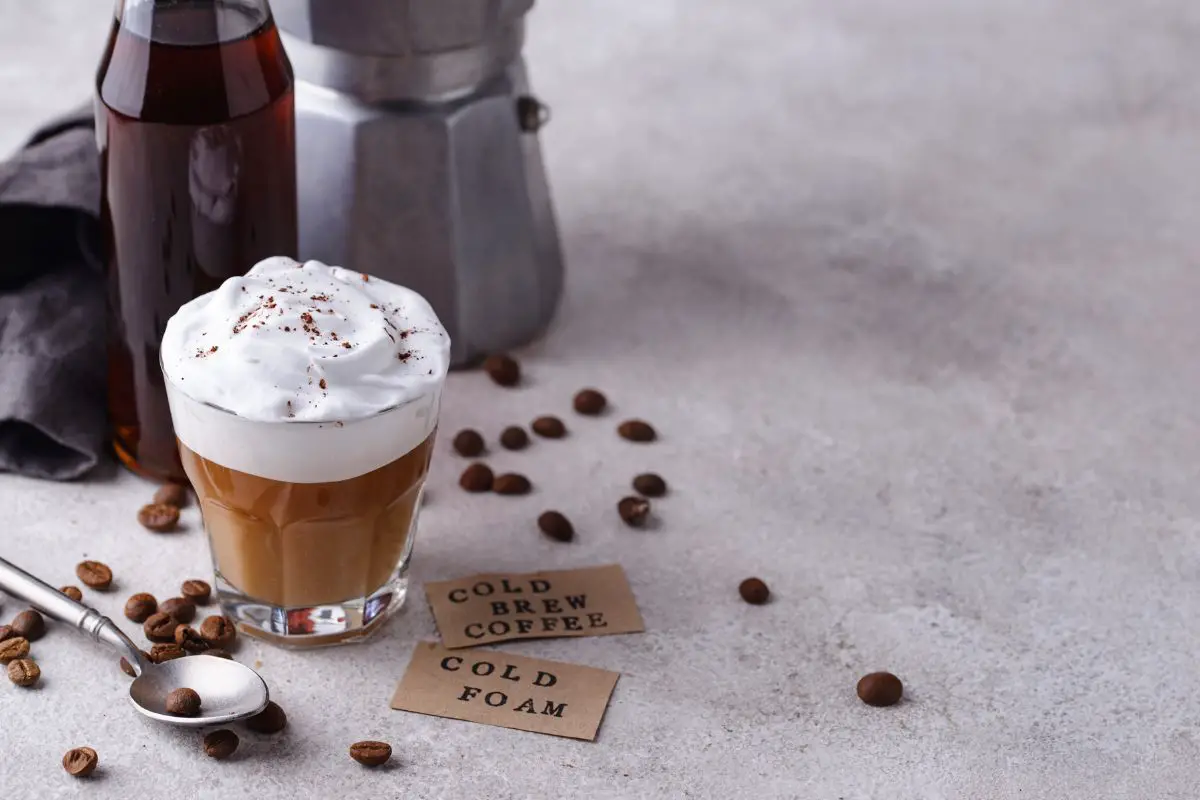
Are you craving a creamy and velvety cold foam topping for your favorite beverages, but don’t have a frother at hand? Don’t worry, you can still achieve that perfect foam layer without any specialized equipment. In this article, we will guide you through the process of making cold foam without a frother, ensuring a safe and enjoyable experience for all.
To begin, gather your ingredients and tools, including milk, flavorings, a whisk, and a microwave-safe container. Then, prepare your cold beverage of choice, whether it’s a refreshing iced coffee or a decadent hot chocolate.
Next, heat the milk and add any desired flavorings. Once the milk is warm, whisk it vigorously until it becomes frothy, creating tiny bubbles that will give your foam its light and airy texture.
Lastly, carefully pour the frothy milk over your beverage, creating a beautiful foam layer that will enhance both the taste and presentation of your drink. With these simple steps, you can enjoy a homemade cold foam that rivals any coffee shop creation.
So, let’s get started and discover the joy of making cold foam without a frother.
Key Takeaways
- Gather ingredients and tools: whole milk, sweetener, jar with lid, microwave-safe container, microwave oven
- Heat milk and add flavorings (vanilla extract or cocoa powder)
- Whisk milk until frothy using a clean whisk or electric mixer
- Create foam layer in a jar by pouring cold milk halfway and shaking the jar vigorously for 30 seconds (longer shaking creates denser foam)
Gather Your Ingredients and Tools
To begin making cold foam without a frother, the first step is to gather all the necessary ingredients and tools.
The ingredients you will need include:
- Whole milk
- Sweetener of your choice (such as sugar or flavored syrup)
For tools, you will need:
- A jar with a tight-fitting lid
- A microwave-safe container
- A microwave oven
Start by pouring the desired amount of whole milk into the jar, leaving enough room for the milk to expand as it froths. Add the sweetener to the jar, adjusting the amount to your taste preferences. Securely close the lid on the jar, ensuring it is tightly sealed.
Next, place the jar in the microwave-safe container to catch any potential spills. Microwave the jar on high heat for 30 seconds to 1 minute, or until the milk is hot but not boiling.
Carefully remove the jar from the microwave using oven mitts or a towel to protect your hands, as it will be hot.
Now, you can transition into the next section on how to prepare your cold beverage using this homemade cold foam.
Prepare Your Cold Beverage
Firstly, the initial step in the process involves preparing the base of your chilled beverage. Start by selecting your preferred cold beverage, such as coffee or tea, and brew it according to your taste preferences. Allow the beverage to cool completely before proceeding to the next step.
To evoke an emotional response in the audience, consider the following bullet list of items:
- A refreshing cold beverage can provide relief from hot weather and quench your thirst.
- The anticipation of a delicious, homemade cold foam adds excitement to the preparation process.
- Enjoying a well-crafted cold beverage can create a sense of relaxation and indulgence.
- Experimenting with different flavor combinations can awaken your taste buds and provide a unique experience.
- Knowing that you have made your own cold foam without a frother can give you a sense of accomplishment and self-sufficiency.
Now that you have prepared your cold beverage, it’s time to move on to the next step. Heat milk and add flavorings to enhance the taste and texture of your cold foam.
Heat Milk and Add Flavorings
Heating the milk and incorporating flavorings is a crucial step in enhancing the taste and texture of the cold foam for your beverage. By heating the milk, you not only improve its flavor but also create a creamy consistency that adds richness to your foam. Additionally, adding flavorings such as vanilla extract or cocoa powder can elevate the overall taste of your foam, making it more enjoyable.
To ensure safety, it is important to heat the milk properly. Start by pouring the desired amount of milk into a microwave-safe container. Place the container in the microwave and heat it on high for 30-second intervals, stirring after each interval, until the milk reaches your desired temperature. Alternatively, you can heat the milk on the stovetop in a small saucepan over low heat, stirring continuously to prevent scorching.
Once the milk is heated, you can add flavorings according to your preference. Vanilla extract can be added directly to the heated milk, while cocoa powder can be mixed with a small amount of hot water to create a smooth paste before being incorporated into the milk. Stir the milk well to ensure the flavorings are evenly distributed.
Incorporating flavorings and heating the milk adequately are essential steps in achieving a delicious cold foam for your beverage. Now, let’s move on to the subsequent section on how to whisk the milk until frothy.
Whisk the Milk Until Frothy
Whisking the milk until frothy is an important step in achieving the desired texture for your cold foam. This process aerates the milk, creating tiny bubbles that give the foam its light and creamy consistency. To whisk the milk effectively, follow these steps:
- Start with a clean stainless steel whisk or a handheld electric mixer. Make sure the whisk or beaters are also clean and free from any residue.
- Pour the heated milk into a deep bowl. The depth of the bowl will prevent the milk from splashing out as you whisk.
- Hold the whisk or beaters at a slight angle and begin whisking vigorously in a circular motion. Continue whisking until the milk starts to foam and doubles in volume. This should take about 1-2 minutes.
- Be careful not to overwhisk the milk, as it can easily turn into a stiff, clumpy texture.
Whisking the milk until frothy creates the perfect base for the foam layer in your cold foam. By incorporating air into the milk, you are setting the stage for a velvety and smooth foam that will add a delightful touch to your favorite cold beverage.
Create the Foam Layer
To create the foam layer for your cold beverage, the next step involves a technique that enhances the texture and adds a velvety touch to your drink. This step requires you to have a medium-sized jar with a lid. Begin by pouring some cold milk into the jar, filling it about halfway. Make sure to leave enough room for the froth to expand. Then, secure the lid tightly onto the jar.
Now, it’s time to shake the jar vigorously. Hold the jar firmly with both hands and shake it up and down for about 30 seconds. This vigorous shaking will create bubbles and froth in the milk, resulting in a creamy foam layer. The longer you shake, the denser the foam will become.
To paint a clear picture, refer to the table below:
| Step | Action |
|---|---|
| 1 | Pour cold milk into a jar, filling it halfway |
| 2 | Secure the lid tightly onto the jar |
| 3 | Shake the jar vigorously for 30 seconds |
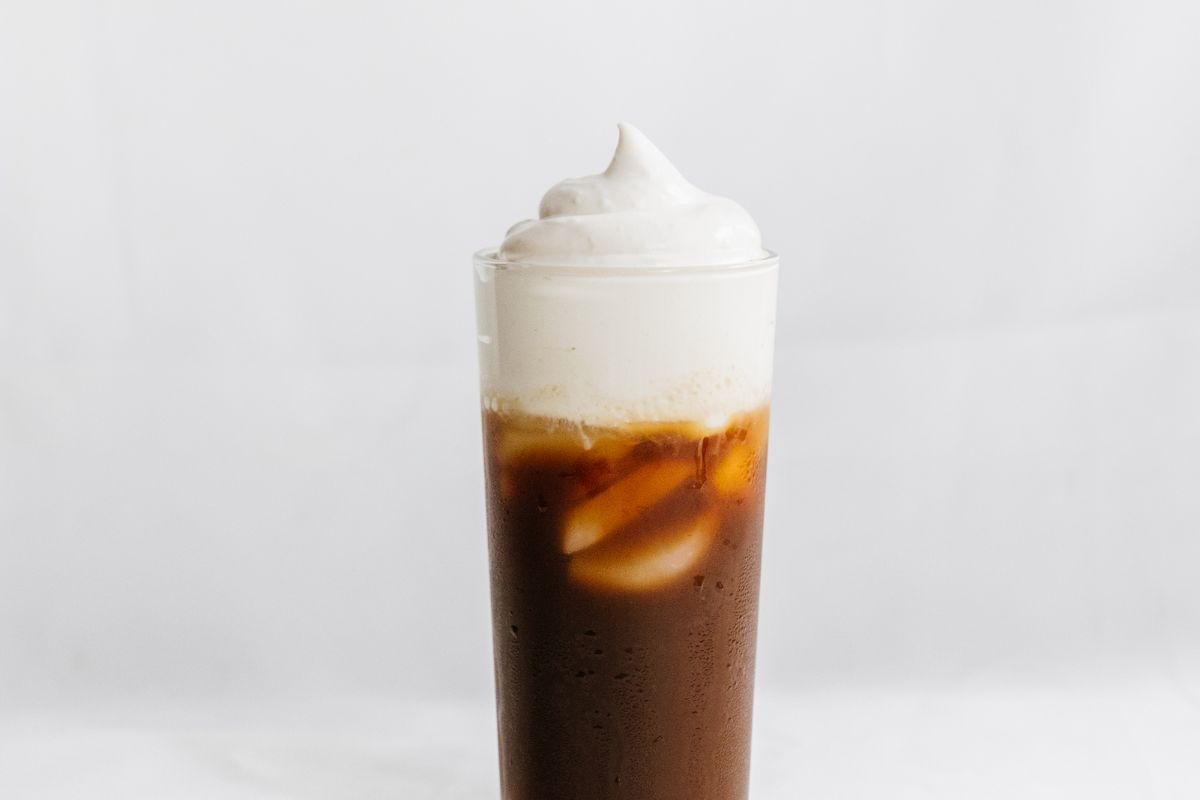
Once you’ve achieved a rich foam layer, remove the lid and gently scoop the foam onto your cold beverage. This foam adds a delightful texture and a touch of elegance to your drink. Now, you are ready to enjoy your homemade cold foam and savor every sip.
Enjoy Your Homemade Cold Foam
To continue our journey of making cold foam without a frother, we now move on to the final step: enjoying your homemade creation. After creating the foam layer, it’s time to savor the delightful taste and texture of your cold foam.
To fully relish your homemade cold foam, follow these simple steps:
- Pour your desired beverage into a glass or cup. Whether it’s a refreshing iced coffee or a creamy matcha latte, the choice is yours.
- Gently spoon the cold foam onto the surface of your drink. Take care to distribute it evenly for an enjoyable sip every time.
- Grab a straw or a spoon and mix the foam into your drink. This will allow the flavors to blend harmoniously and create a satisfying experience.
- Finally, take a moment to appreciate the beautiful aesthetic of your beverage. Snap a quick picture to share with friends or simply sit back and enjoy the fruits of your labor.
Now that you have mastered the art of making cold foam without a frother, let your creativity run wild. Experiment with different flavors, add a dash of spices or syrups, and create your own signature cold foam masterpiece.
Embrace the joy of homemade goodness and indulge in the luxurious sensation of each sip.
Frequently Asked Questions
Can I use any type of milk to make cold foam?
Yes, any type of milk can be used to make cold foam. For example, almond milk, soy milk, and coconut milk can all be frothed to create a creamy and frothy texture without the need for a frother.
How long should I whisk the milk to achieve the desired frothy consistency?
To achieve the desired frothy consistency when whisking milk for cold foam without a frother, it is recommended to whisk it for approximately 2-3 minutes. This duration allows air to be incorporated into the milk, resulting in a light and frothy texture.
Are there any alternative methods to heating the milk if I don’t have a microwave?
Alternative methods to heating milk without a microwave include using a stovetop, a double boiler, or a milk frother with a heating function. These methods ensure the milk reaches the desired temperature for frothing while maintaining safety.
Can I add sweeteners or syrups to the milk before whisking to enhance the flavor of the cold foam?
Adding sweeteners or syrups to milk before whisking can enhance the flavor of cold foam. It is important to note that the safety of sweeteners and syrups varies, so it is crucial to choose ones that are safe for consumption.
Can I make a large batch of cold foam and store it for later use?
Yes, it is possible to make a large batch of cold foam and store it for later use. However, it is important to ensure proper storage conditions, such as using airtight containers and refrigerating it promptly to maintain its freshness and quality.
Conclusion
In conclusion, mastering the art of making cold foam without a frother is a delightful journey that anyone can embark on.
By gathering the right ingredients and tools, heating the milk with flavorful additions, and whisking it vigorously, one can create a frothy masterpiece.
This homemade cold foam adds a touch of elegance and indulgence to any cold beverage, transforming it into a luxurious treat.
So why not embark on this enchanting adventure and elevate your beverage experience with a homemade cold foam?
Related articles: