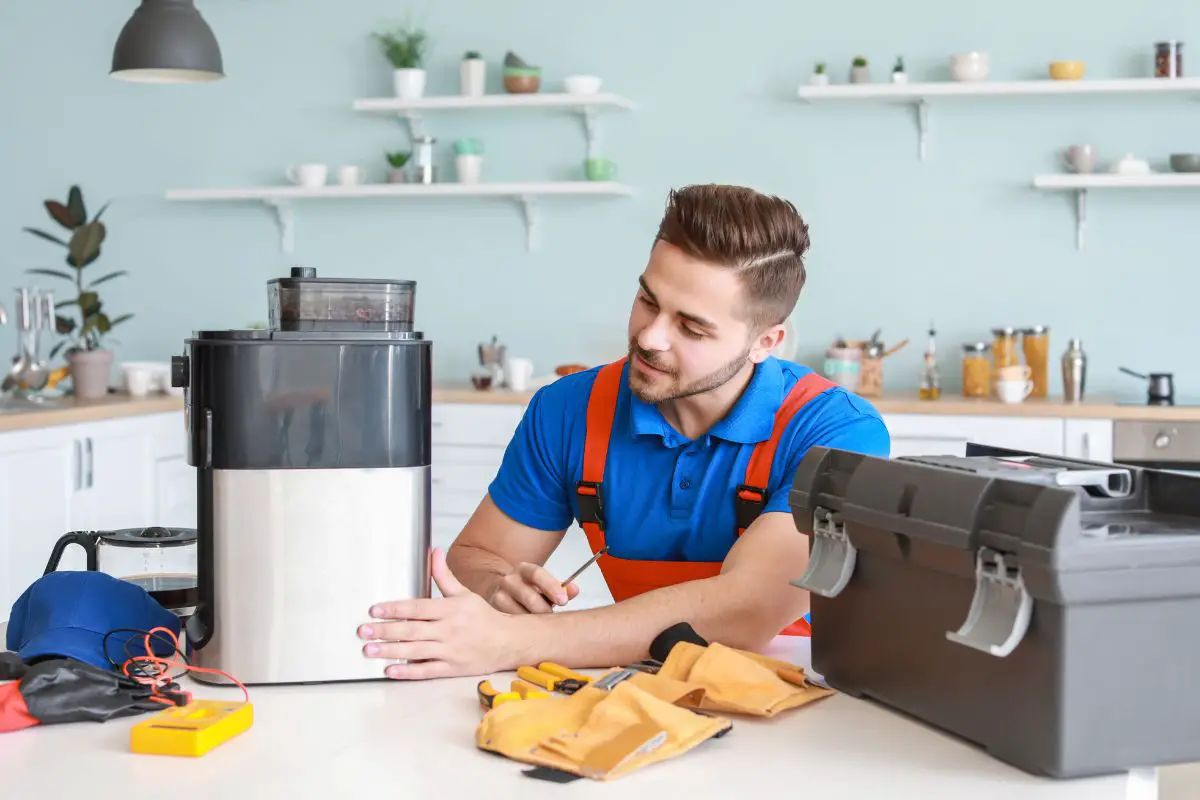
Are you experiencing the frustrating issue of water leaking from the bottom of your coffee maker? Don’t worry, as we delve into this common problem and provide you with a comprehensive troubleshooting guide. Addressing water leakage is crucial to ensure the optimal performance and longevity of your coffee maker.

Common Causes of Water Leakage in Coffee Makers
1. Loose or Damaged Water Tank:
Tighten or replace the water tank: Ensure the water tank is securely fastened to prevent leakage. If it’s damaged, replace it with a new one.
Check for visible damage or cracks: Inspect the water tank for any visible signs of damage or cracks, which can lead to water leakage. Replace if necessary.
2. Faulty Seal or Gasket:
Inspect and replace the seal or gasket: Examine the seal or gasket responsible for preventing water leakage. If worn or damaged, replace it promptly.
Ensure proper alignment during replacement: When replacing the seal or gasket, ensure it is correctly aligned to form a tight seal and prevent future leaks.
3. Overflowing or Blocked Drip Tray:
Clean and unclog the drip tray: Remove the drip tray and clean it thoroughly to eliminate any debris or clogs that may obstruct proper drainage.
Adjust the coffee maker’s settings to prevent overflow: Check the coffee maker’s settings to ensure it’s not programmed to dispense excessive amounts of water. Adjust as necessary.
4. Worn-out or Faulty Valve:
Replace the valve if necessary: Inspect the valve responsible for controlling water flow. If it’s worn-out or defective, replace it with a new one.
Properly clean and maintain the valve: Regularly clean and maintain the valve to prevent blockages or malfunctions that may result in water leakage.
5. Excessive Water Pressure:
Check the water supply pressure: Measure the water pressure using a gauge to determine if it’s too high. Excessive pressure can cause leaks.
Install a pressure regulator if needed: If the water pressure is too high, install a pressure regulator to ensure it remains within the recommended range.
Troubleshooting Steps to Fix Water Leakage
1. Unplug and Assess the Coffee Maker:
Turn off and unplug the coffee maker to ensure safety while troubleshooting.
Visually inspect the coffee maker for any visible damage or loose parts that may contribute to water leakage.
2. Check the Water Tank:
Remove the water tank and carefully inspect it for cracks or loose connections.
Tighten any loose connections or replace the tank if it’s damaged beyond repair.
3. Inspect the Seal or Gasket:
Locate the seal or gasket responsible for preventing water leakage.
Check for signs of wear and tear, such as cracks or deformation. Replace if necessary.
4. Clean the Drip Tray:
Remove the drip tray and clean it thoroughly to remove any debris or clogs that may obstruct proper water drainage.
Ensure the drip tray is properly aligned and securely in place after cleaning.
5. Test the Valve:
Check the valve responsible for controlling water flow. Ensure it’s functioning correctly and clean it if needed.
If the valve is worn-out or not working properly, replace it with a compatible replacement part.
6. Adjust Water Pressure:
Measure the water supply pressure using a pressure gauge.
If the pressure is too high, install a pressure regulator to maintain it within the recommended range.
Conclusion
By identifying and addressing the causes of water leakage in your coffee maker’s bottom, you can enjoy hassle-free brewing sessions. Regular maintenance and care are essential to prevent future issues and extend the lifespan of your coffee maker. Say goodbye to water leaks and savor every cup of coffee with confidence!
Related article: