If you love drinking coffee, you know that freshly roasted coffee beans brew the most flavorful coffee. Although you can buy roasted coffee beans for convenience, you may not know how long they have stayed in the grocery shop. Also, they may not have been properly stored and have likely lost some flavor.
The best thing to do is to roast green coffee beans yourself. Although roasting coffee beans at home can sound daunting, it is something you can easily do with readily available gear. All you need is a pan and a stove. In this guide, we will show you how to roast coffee beans at home in a pan.
Why Roast Coffee Beans at Home?
Roasting coffee beans yourself is great for several reasons including:
- You can roast the exact kind of beans you want. You will have the freedom to choose beans from a preferred region and quality.
- Roasting beans yourself allows you to roast them to your preferred roast level.
- It will save you a lot of money. Green beans are more affordable than roasted beans.
- Your home will have the aroma of freshly roasted coffee beans.
- It is fun and satisfying.
Equipment and Supplies Needed:
- Pan
- Colander
- Lid
- Green coffee beans
Instructions:
Step 1- Keep the Room Ventilated
Before you start the roasting process, you should ensure the room you are using is properly ventilated. Open all the windows in your kitchen or the room you are using. If you do not have a fan in the room, get a portable fan to help with air circulation.
There will be a lot of smoke when roasting coffee beans. Thus, prepare for ventilation in advance to make it easier to deal with the smoke. Do not roast the beans in a poorly ventilated room as the smoke might choke you.
Step 2- Preheat the pan
When choosing a pan to roast coffee beans, choose a thick, metal pan. The pan should not have any coating. Preferably, use a cast iron, stainless steel, or carbon steel pan. Once you have the right pan, place it on the stove. Turn on the stove to preheat the pan.
Preferably, set the stove to medium-high for optimal preheating. The reason why you preheat the pan is to ensure the beans are roasted efficiently and quickly. Also, preheating enables you to expose the beans to heat for the shortest time possible.
Step 3- Add Green Coffee Beans
Add the green coffee beans to the preheated pan. Preferably, only roast a batch you can consume within one or two weeks. With pan roasting, adding beans in two layers works best as each bean spends more time out of direct contact with the pan. If you roast them in one layer, there is an increased risk of roasting the beans unevenly and burning the beans on one side.
Step 4- Roasting the Beans
Now, you need to watch the roasting process keenly to ensure the beans roast evenly. Place a lid on the pan to trap in heat and help the beans roast more evenly. Also, the lid will allow you to agitate the beans by shaking the pan without the beans falling out. Agitate the beans every 20 to 30 seconds to avoid burning the beans on one side. Also, agitating the beans will allow them to roast evenly.
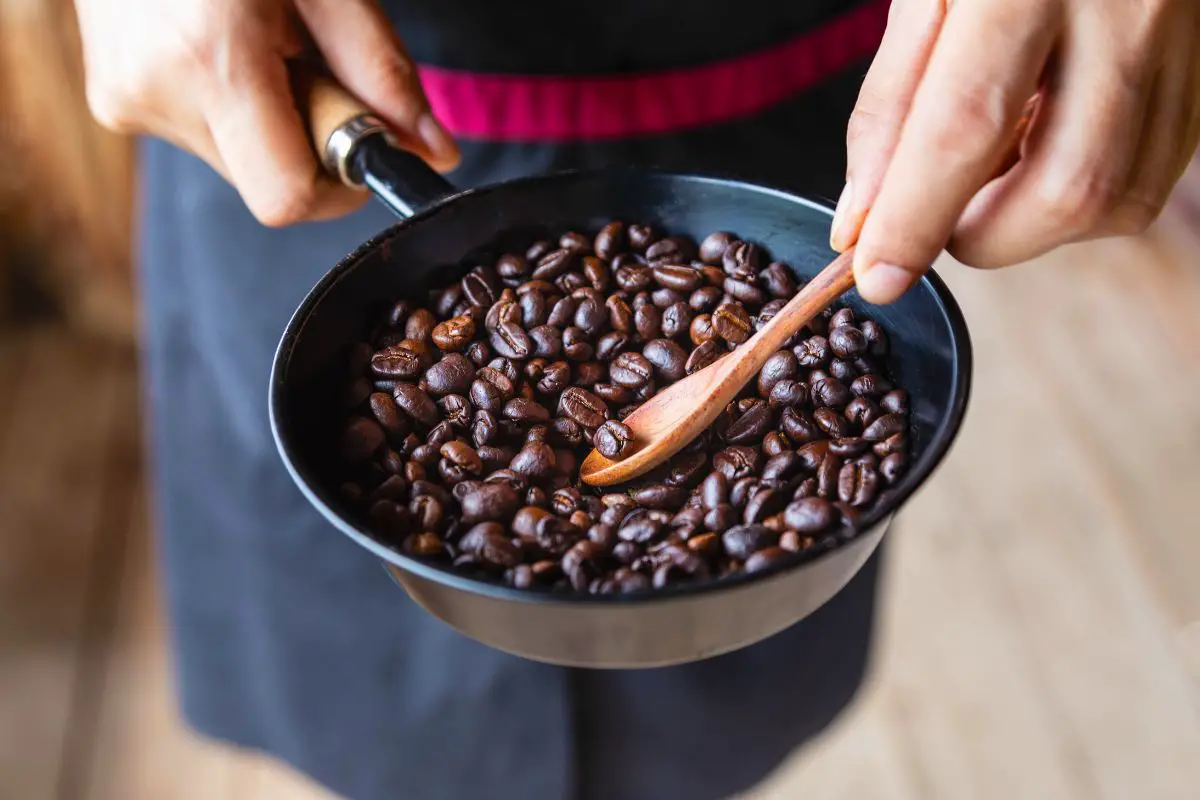
You will notice the color of the beans change as they continue heating. Also, you will hear cracking sounds. As the beans roast, they should turn color from green to yellow, then to light brown, golden brown, and dark brown.
You will hear the first crack when the beans turn color from light brown to golden brown. If you want to roast the beans to a light roast, remove them from the heat as soon as you hear the first crack. If you prefer a medium roast, continue roasting them for another minute. Do not wait for a second crack when aiming for a medium roast.
If the beans continue roasting, they will turn from golden brown to dark brown. Now, you will hear a second crack. At this point, they have attained a dark roast. Remove the beans from the heat as soon as you hear the second crack. If you allow them to continue roasting, they will produce a smoky flavor and your brew will have a burnt taste like that of charcoal.
Remember the coffee beans will continue cooking after taking them off the heat due to the heat they absorbed. That is why you should remove them from the heat immediately they attain the desired roast level.
Step 5- Cooling the Beans
Next, transfer the beans from the pan to a colander or cooling tray. Place the colander in an area where the beans will cool quickly. Preferably, place them near an open window. Give them enough time to cool.
Step 6- Separate the Chaff
By now, you will notice papery bits coming off the beans. These are the outer husks of coffee beans, which are commonly known as chaff. You will need to separate the chaff from the beans. Go outdoors to avoid dirtying your home with the chaff. Swirl the colander gently to start removing the chaff. The chaff will blow out and leave roasted coffee beans behind.
Step 7- Give the Beans Time to Rest
Allow the beans to sit out for at least 24 hours in a cool, dry place. That way, they will develop a full-bodied flavor. If you brew coffee with the beans immediately after roasting, you will get a brew with an off-flavor or flat taste.
Step 8- Store the Beans
Once the beans cool, transfer them into an airtight container for storage. Place the storage container away from light and heat. Light, moisture, and heat can ruin the coffee beans. By storing them properly, they will stay fresh for two to four weeks. However, they retain their peak freshness within the first week after roasting.
Conclusion
Now, you know how to roast coffee beans at home in a pan. Although roasting coffee beans in a frying pan is an affordable and quick option, it is a little challenging to master. Thus, we recommend you try this method a couple of times to perfect it.