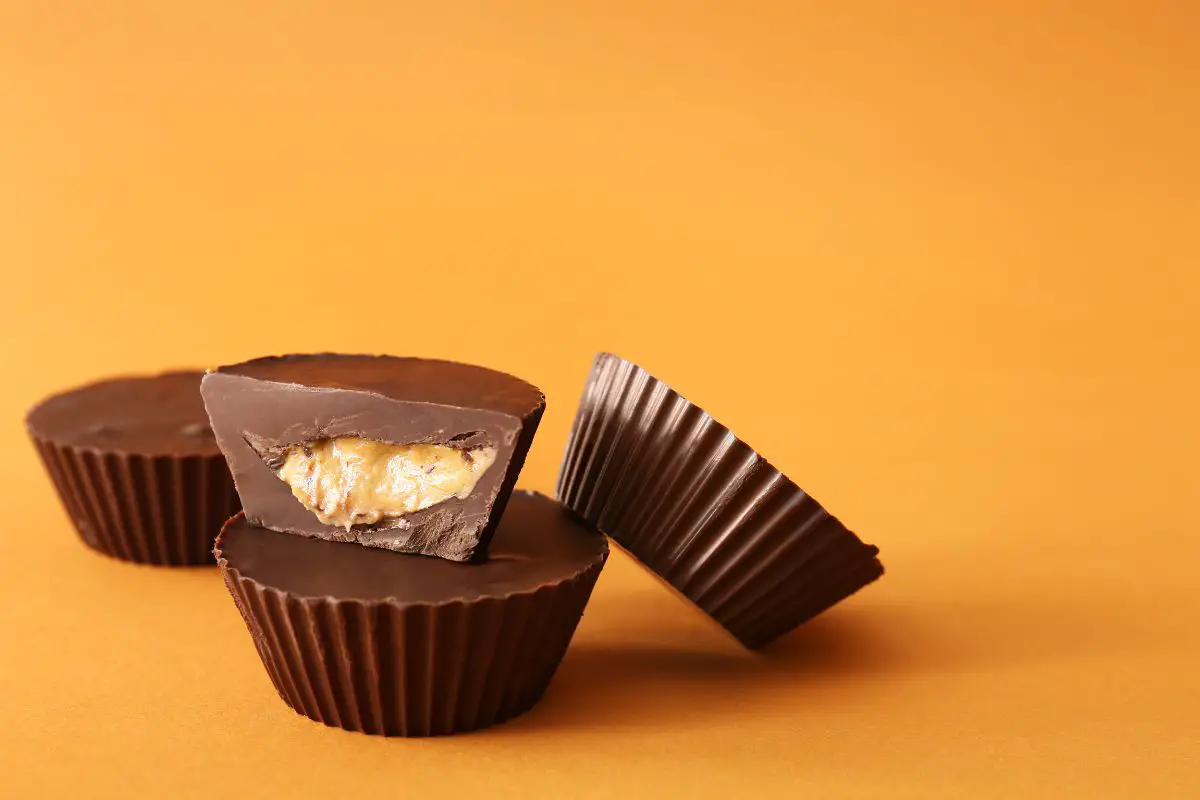
Looking for an answer to the question, “How to make cocoa cups?” These delicious cups are a chocolate lover’s delight and can add a special touch to your hot chocolate or coffee routine. Let’s dive into the process.
Section 1: The Basics of Making Cocoa Cups
What You’ll Need
– Chocolate or cocoa powder
– Molds (silicone cup molds work great)
– A double boiler or microwave for melting chocolate
– A refrigerator for cooling
The Process
- Melt Chocolate: Begin by melting the chocolate or cocoa powder in a double boiler over low heat or in the microwave in 20-second intervals. Stir until smooth.
- Fill Molds: Pour the melted chocolate into your molds, filling them about 1/3 of the way.
- Create Walls: Using a small spoon or brush, spread the chocolate up the sides of the molds to create the cup walls.
- Chill: Place the molds in the refrigerator for at least 30 minutes, or until the chocolate has hardened.
- Remove from Molds: Once hardened, carefully remove the chocolate cups from the molds.
Section 2: Extra Tips
Choice of Chocolate
The choice of chocolate can affect the taste of your cocoa cups. For a sweet cup, use milk chocolate. For a more bitter flavor, use dark chocolate.
Double Layer
For a sturdier cup, consider adding a second layer of chocolate after the first layer has chilled.
Section 3: Serving Suggestions
These cocoa cups are perfect for serving hot chocolate, coffee, or even dessert! Try filling them with whipped cream, fresh berries, or a scoop of ice cream.
Section 4: Engage With Us!
Have you tried making cocoa cups at home? What’s your favorite way to use them? Share your cocoa cup adventures with us!
Conclusion
Making cocoa cups at home can be a fun and delicious project. These edible containers bring an extra touch of sweetness to any dessert or beverage they hold. So grab your chocolate and molds and let’s get creative in the kitchen!