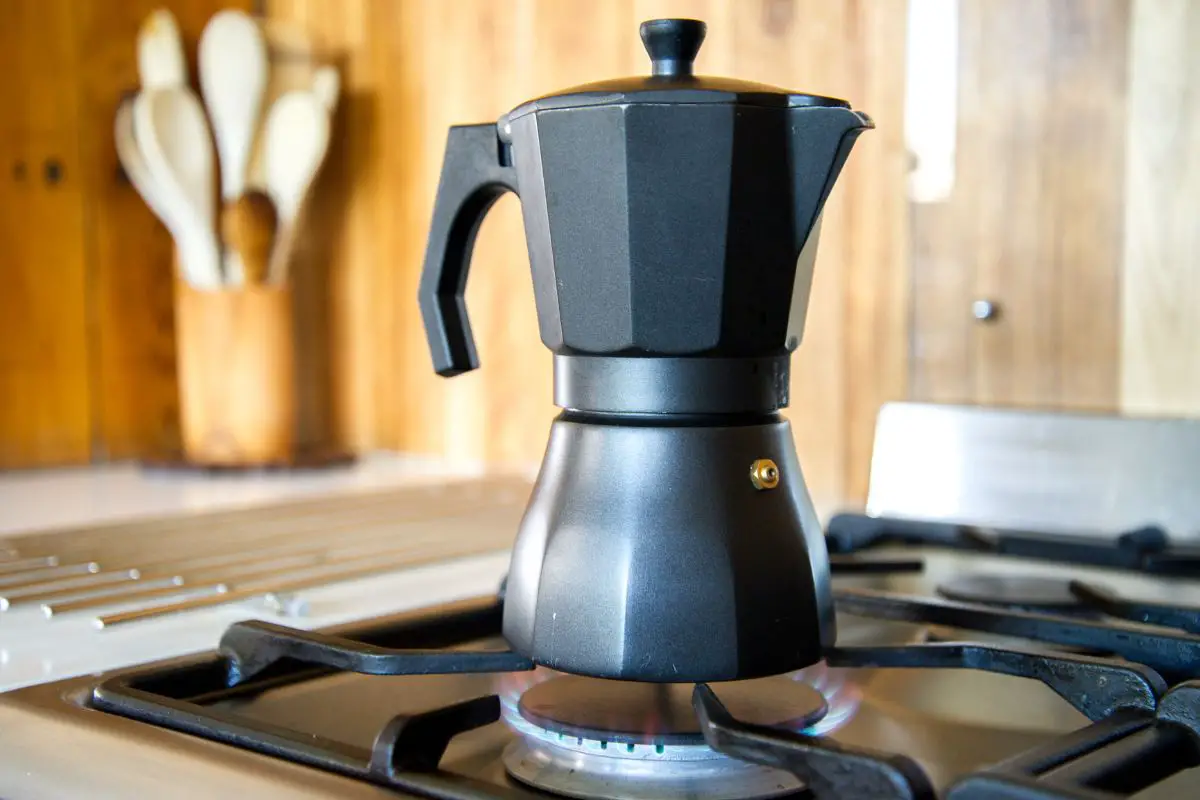
The percolator was once a dedicated coffee maker. Unfortunately, many coffee enthusiasts no longer use stovetop percolators to make coffee at home. The main reason why the percolator is no longer the number one coffee maker is that it tends to over-extract coffee, thereby resulting in bitter coffee. Regardless, the percolator can brew tasty coffee when used the right way. So how do you make coffee using a percolator without over-extracting? Read on to find out.

Materials and Supplies Needed to Percolate Coffee
- Stovetop percolator– Most of the brands available are made of stainless steel. They vary in cup size. Although they come with a reusable coffee basket, you can line the basket with a paper filter for easier cleanup.
- Kettle– You will need a kettle or saucepan to boil water before adding it to the stovetop percolator.
- Heat source– You can use a stove, hot plate, or campfire as the heat source. Just ensure the source of heat is level to place the kettle and hot enough to boil water.
- Scale or measuring spoon– A scale is needed to measure the right amount of coffee beans. That way, you will brew with the recommended water-to-coffee ratio.
- Coffee beans– You will need light roast coffee beans for the best-tasting percolator coffee. Using dark roasts with a percolator may produce overly bitter coffee. Preferably, grind coffee beans just before brewing for the best-tasting percolator coffee. The grind size should be medium-coarse. If you do not have a coffee grinder or you like convenience, use pre-ground coffee.
How Do You Make Coffee Using a Percolator the Right Way?
Here are the steps to follow to brew tasty coffee with a percolator:
Step 1- Measure 20 to 22 grams (2 tablespoons) of freshly roasted coffee beans. Grind the beans to a medium-coarse grind size.
Step 2- Boil water in a kettle.
Step 3- Add the boiling water to the base of the percolator.
Step 4- Add the ground coffee to the filter basket. Distribute the grounds evenly by shaking the filter basket a little. Attach the filter basket back in place.
Step 5- Screw the top chamber onto the base chamber. Be careful since the base is hot. You can wear mitts while handling the percolator to avoid getting burnt.
Step 6- Place the stovetop percolator on the source of heat. Set the stove or hotplate to medium heat. If you are brewing with an electric percolator, follow the instructions of the manufacturer.
Step 7- Allow the percolator to brew. You will know it is brewing once it starts producing a sputtering sound, a brewing stage known as the perk. A percolator brews coffee by using pressure to push water through a tubing that drenches the ground coffee.
Observe the brewing process to control the water temperature. In case coffee starts bursting out of the top, it is time to turn down the heat. If the process seems slow, turn up the heat. Your brew is ready once the percolator stops producing the sputtering sound.
Step 8- Remove the hot percolator from the heat.
Step 9- Discard the used grounds. Again, be careful when handling the filter basket as it is still hot.
Step 10- Serve your coffee.
Clean the carafe as soon as you are done brewing. If you allow leftover coffee to sit in the percolator after brewing, it may stain the interior stainless steel walls. The residue may introduce an unpleasant taste to your next brew.
Use warm, soapy water to clean it. Give it a light scrub when cleaning. If the carafe is stained, clean it with the help of baking soda. In this case, fill the filter with baking soda rather than coffee beans. Complete a normal brewing cycle to clean it. Discard the mixture and rinse the filter basket and coffee pot thoroughly.